SculptureFest 2016
….Beginnings In Steel

My Little Work Horses – Present (Honda Fit) and Past (Subaru)
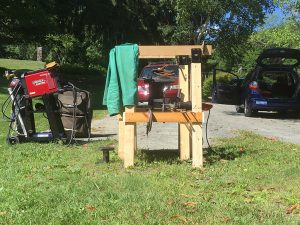
My Simple Welding Set-Up
Step 1:
I felt like the “Man Who Came to Dinner” and never left, but Charlet and Peter Davenport let me commandeer a generous portion of their driveway for about six weeks as I set up my simple welding set-up: A couple of sawhorses, my suitcase of welding accessories and my brand new Lincoln MIG 210 Welder. Just to the right of the 2 x 4’s one can see the very first component of the sculpture, the free wheeling ball bearing base made of 1/2″ & 1″ steel plate, a 1″ rod, a 1″ ball bearing, and 2″ pipe. This mechanism was designed to support the entire kinetic sculpture.
The Very Early Stages of Construction
Step 2:
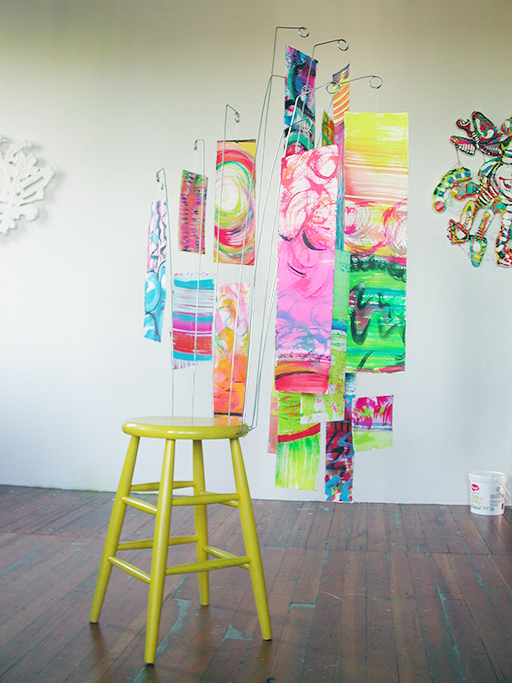
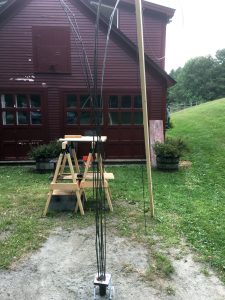
Here you see the very early stages of my kinetic steel sculpture–an improvisation in steel wire with the inclusion of visual jazz paintings on aluminum sheeting. In this picture you can see the free moving ball bearing base, first stages of “drawing” in wire, all supported by the tripod build with 16 foot 2x 4’s.
Step 3:
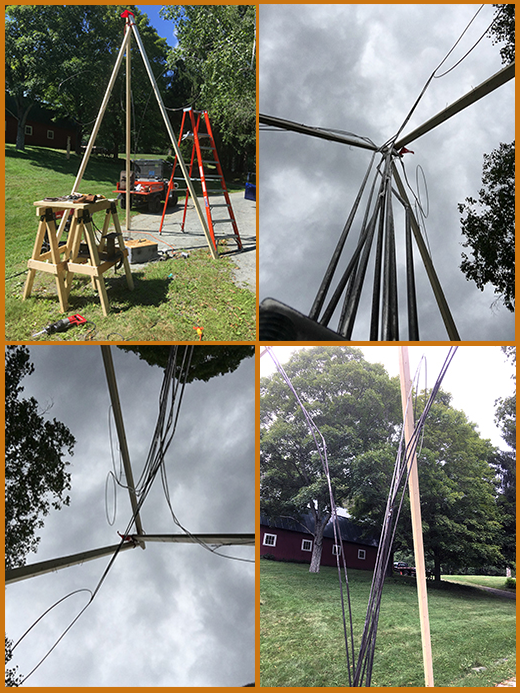
At this stage the task at hand was to continue building the what I call the three elements.
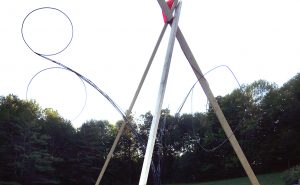
Close-up of the Four Looping Shapes of the Three Elements
These are the three original 1/4″ wire looped shapes with their stems. I continued working in the driveway until the structure had enough integrity to be free standing.
Step 4:
Peter Davenport and I installed a 4 foot precast cement pylon using his Kubota tractor.
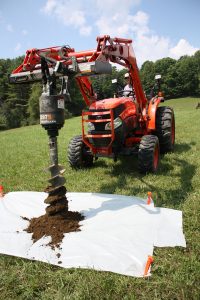
Peter Davenport Drilling Hole for Pylon
I used an electric hammer drill and a template to set four threaded pins in the pylon.
I installed the base plate so that the four points of the plate pointed to the four compass directions.
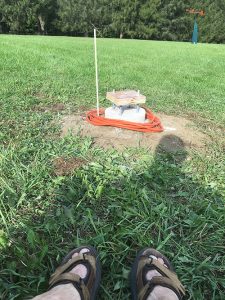
The pylon in place with epoxy drying around the threaded bolts. The wooden template holds the bolts steady.
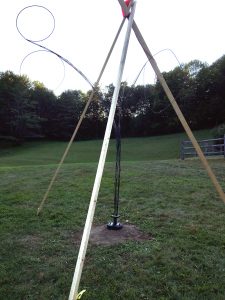
The armature is set in its exhibition location in the field.
Then Peter , Andrew and I hefted the sculpture armature to the site and bolted it in place. To keep the sculpture from turning while I continued to work on it I reinstalled the sixteen foot 2 x 4 tripod and lashed the sculpture to it.
Step 5:
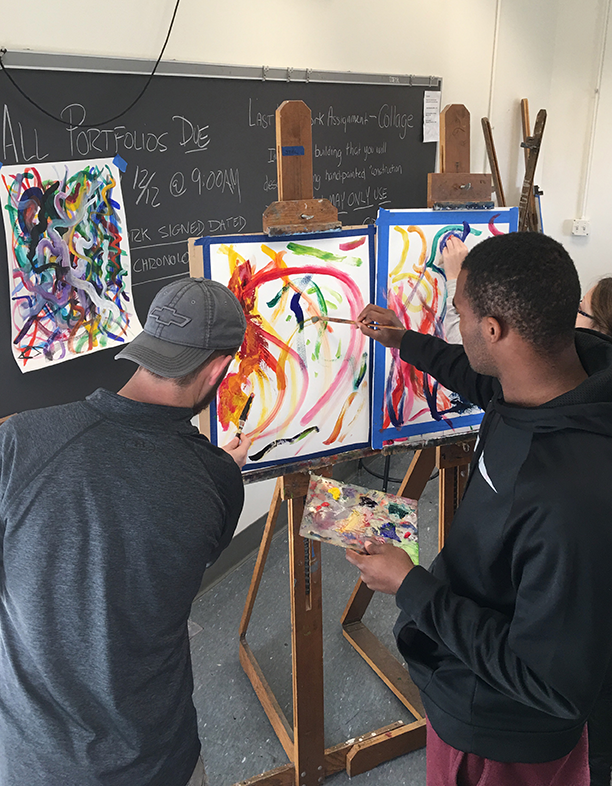
Meanwhile, back in my studio I raced to manufacture the aluminum blanks for the paintings that would be installed in the loops in the sculpture. Again my Honda Fit workhorse lugged four sheets of 4′ x 8′ aluminum from my supplier in Newburyport, MA.
Here you can see the shaped aluminum blanks with their first coat of white paint. For a sense of scale the green cutting mat is 26″ wide.
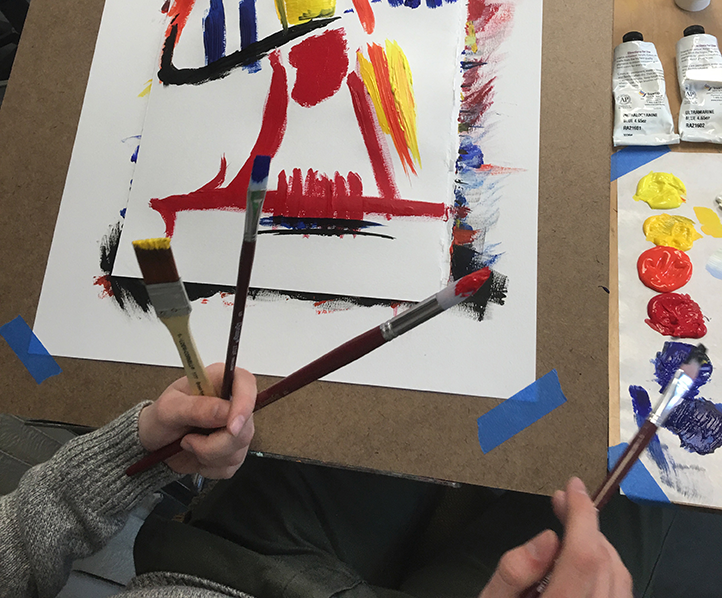
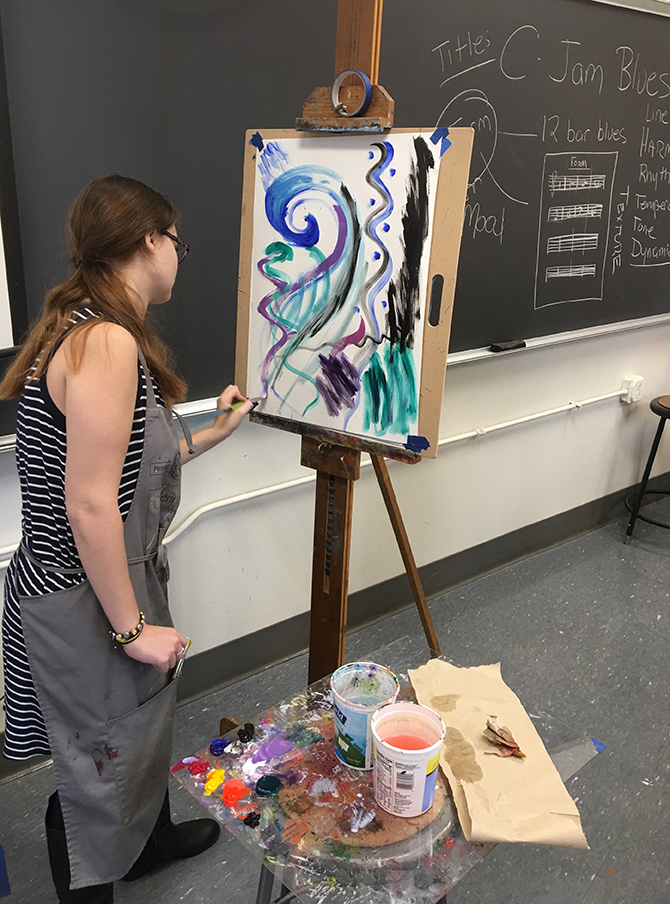
Here are some photos of the paintings in progress in my studio. While the paint layers were drying I was back in the field welding additional forms to my sculpture.
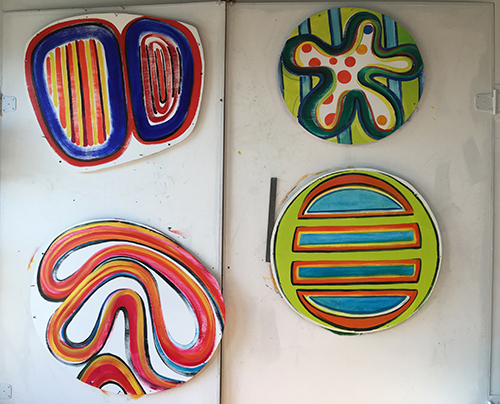
My four aluminum paintings are drying in place before flipping to paint the reverse sides.
In the photo above you can get a sense of scale you can see the one foot ruler hanging by the painting in the lower right corner.
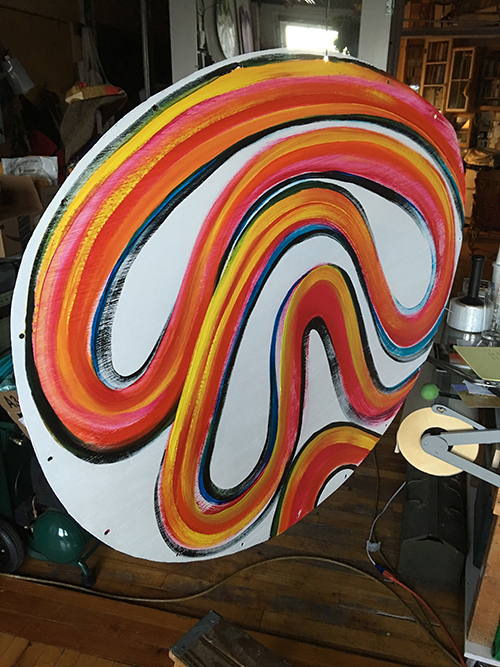
Close up of the largest painting.
Below all four paintings can be seen hanging to dry.
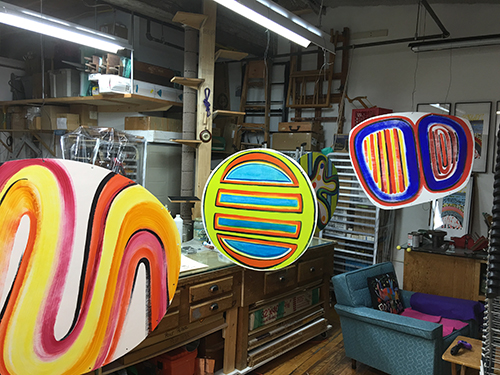
Seen here are three of the four paintings hanging to dry.
Continuing on the SculptureFest site:
Action shot of installing the paintings with temporary zip ties. Below are images of the installation process.
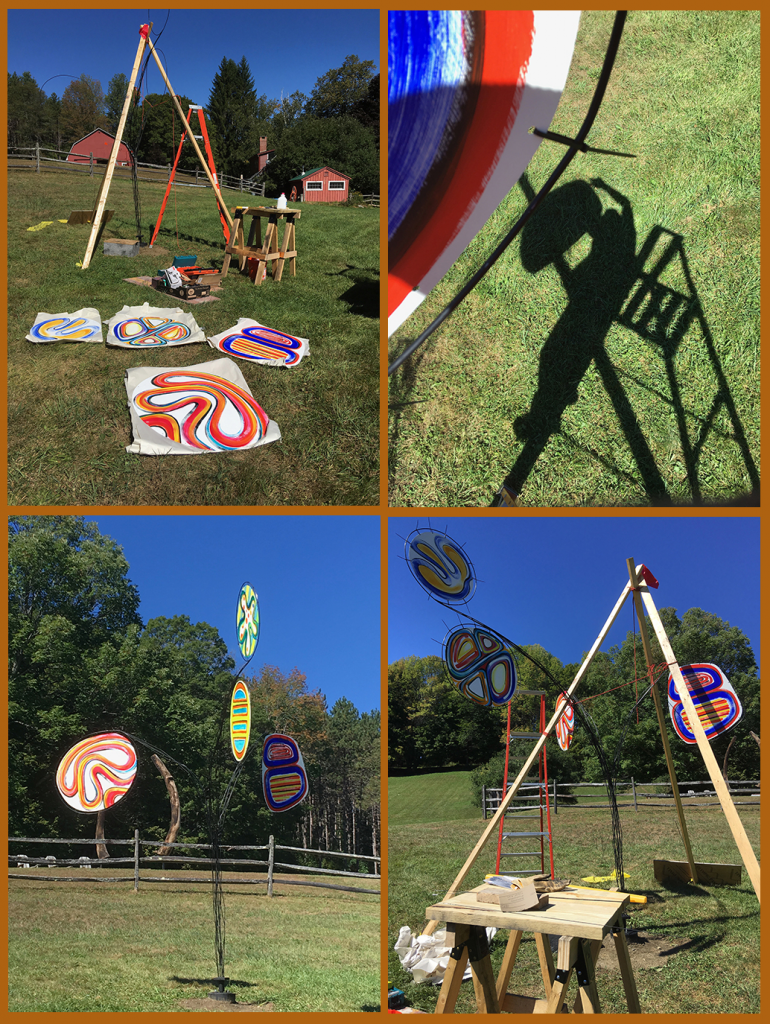
Here you can see the completion of the first phase – a test run so to speak.
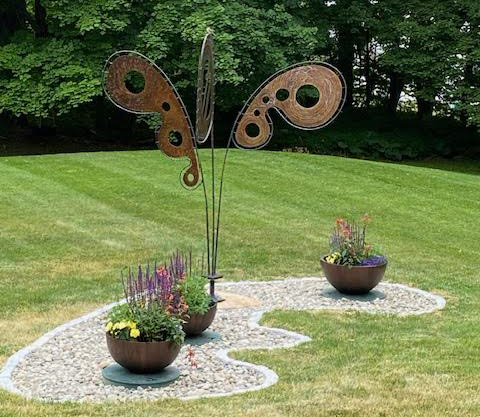
Set Free!
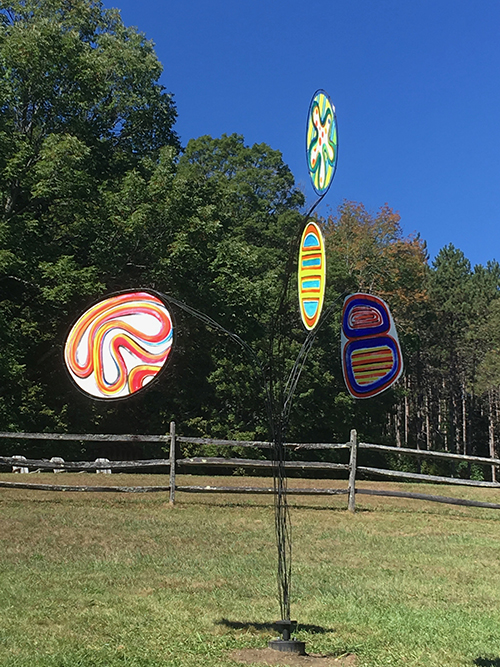
Phase One Complete! ‘Field Notes On Jazz’ set free to move about.